# Deploy on GCP Using Helm Charts
{% hint style="info" %}
**Note:** This tutorial deploys the full Hyperswitch stack, launching multiple services that may exceed compute limits on smaller clusters.
{% endhint %}
Part 1: Setting Up a Kubernetes Cluster on GCP
#### Step 1: Set Up GCP Account and Enable Kubernetes Engine API
1. **Sign In to Google Cloud Console**:
* Navigate to the [Google Cloud Console](https://cloud.google.com/cloud-console), and click on **Go to my console.**
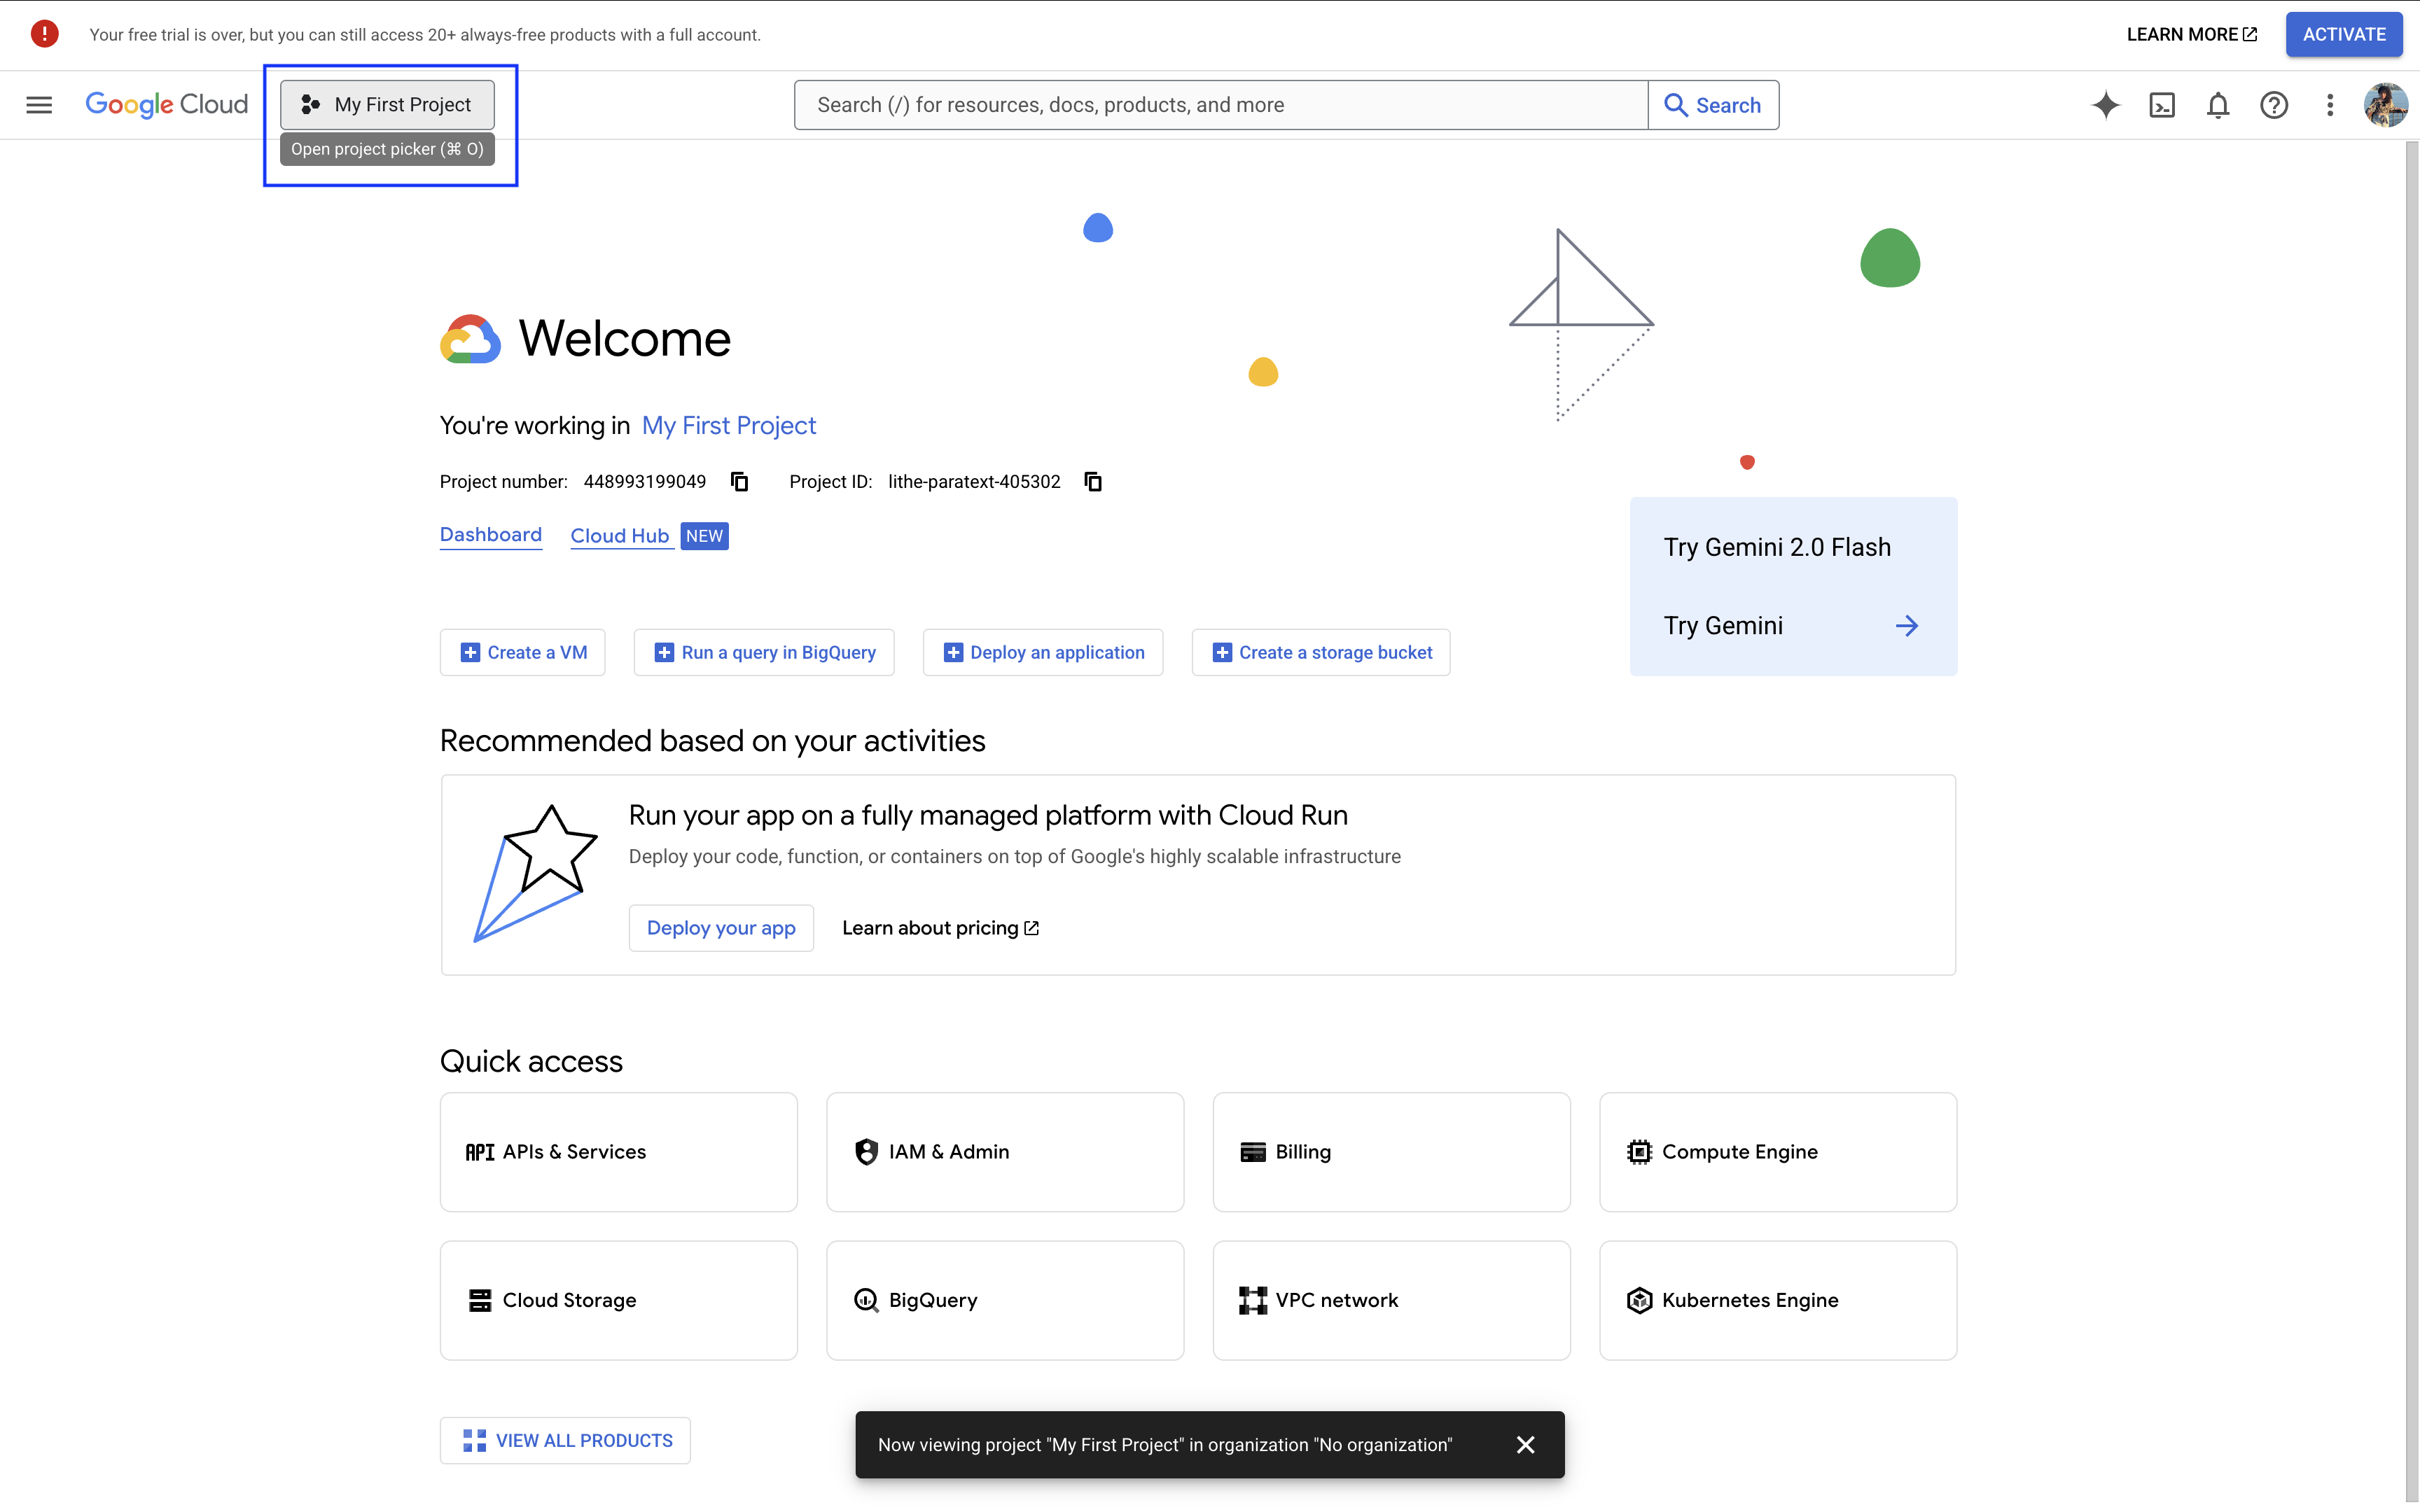
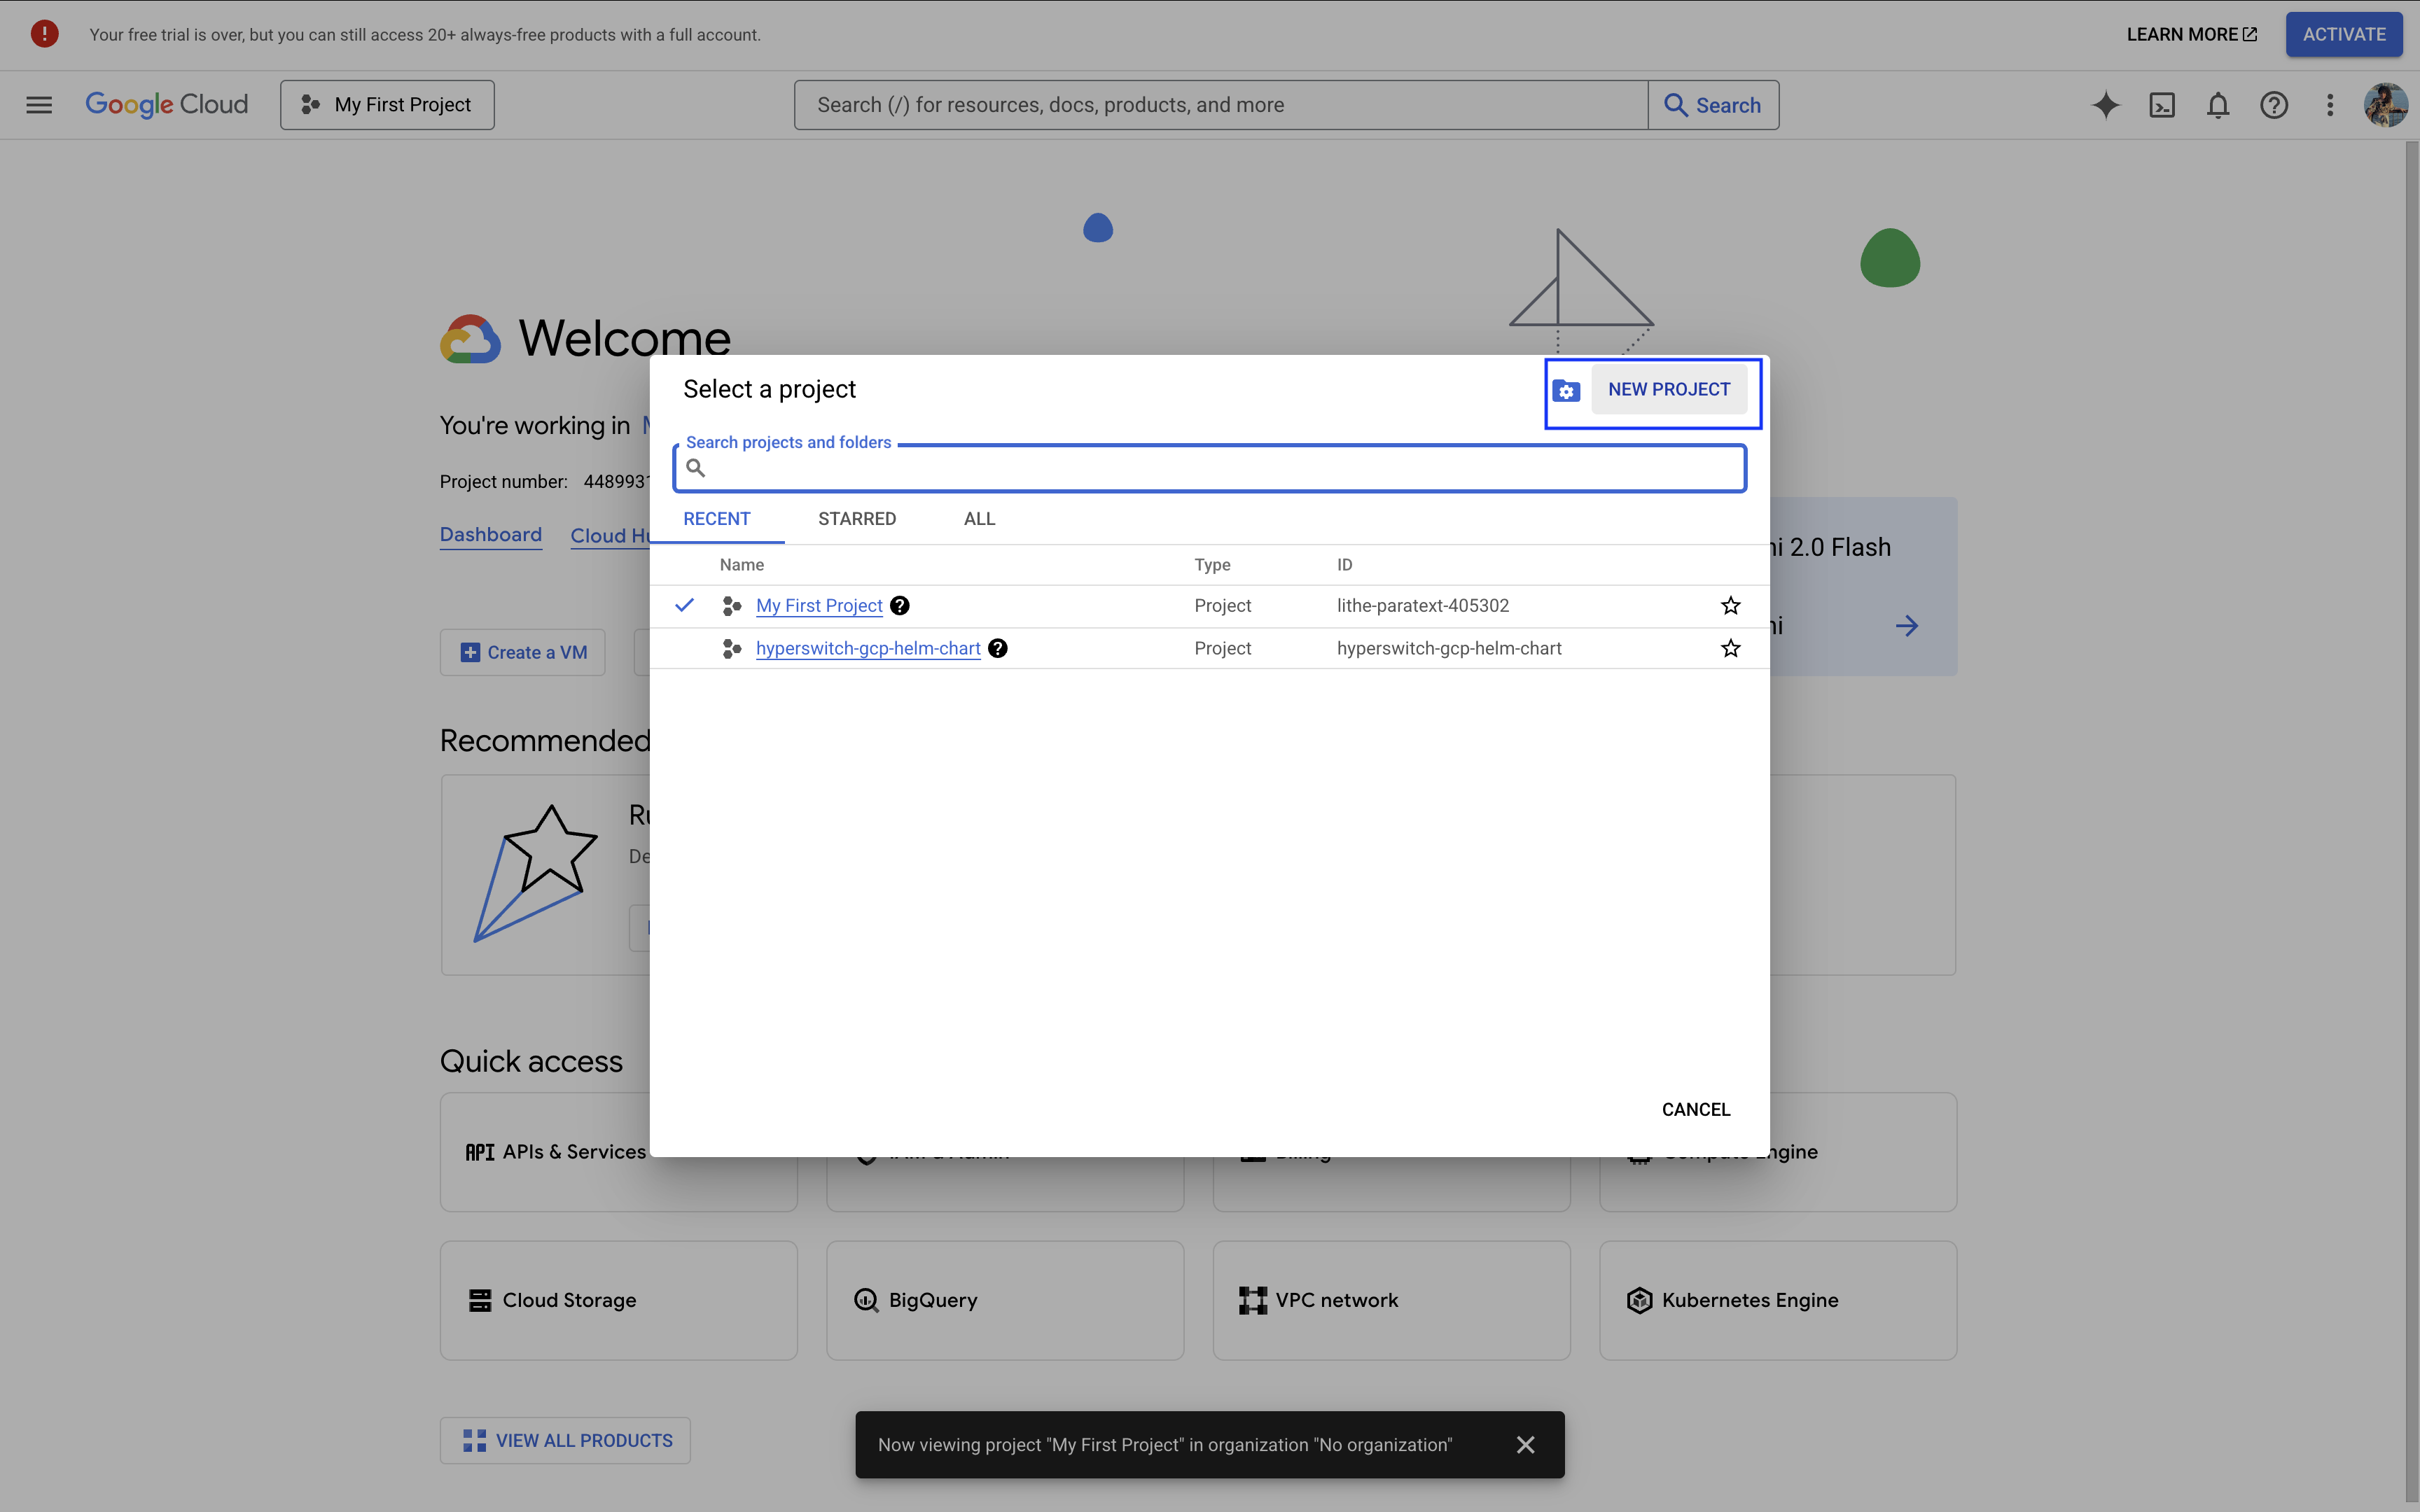
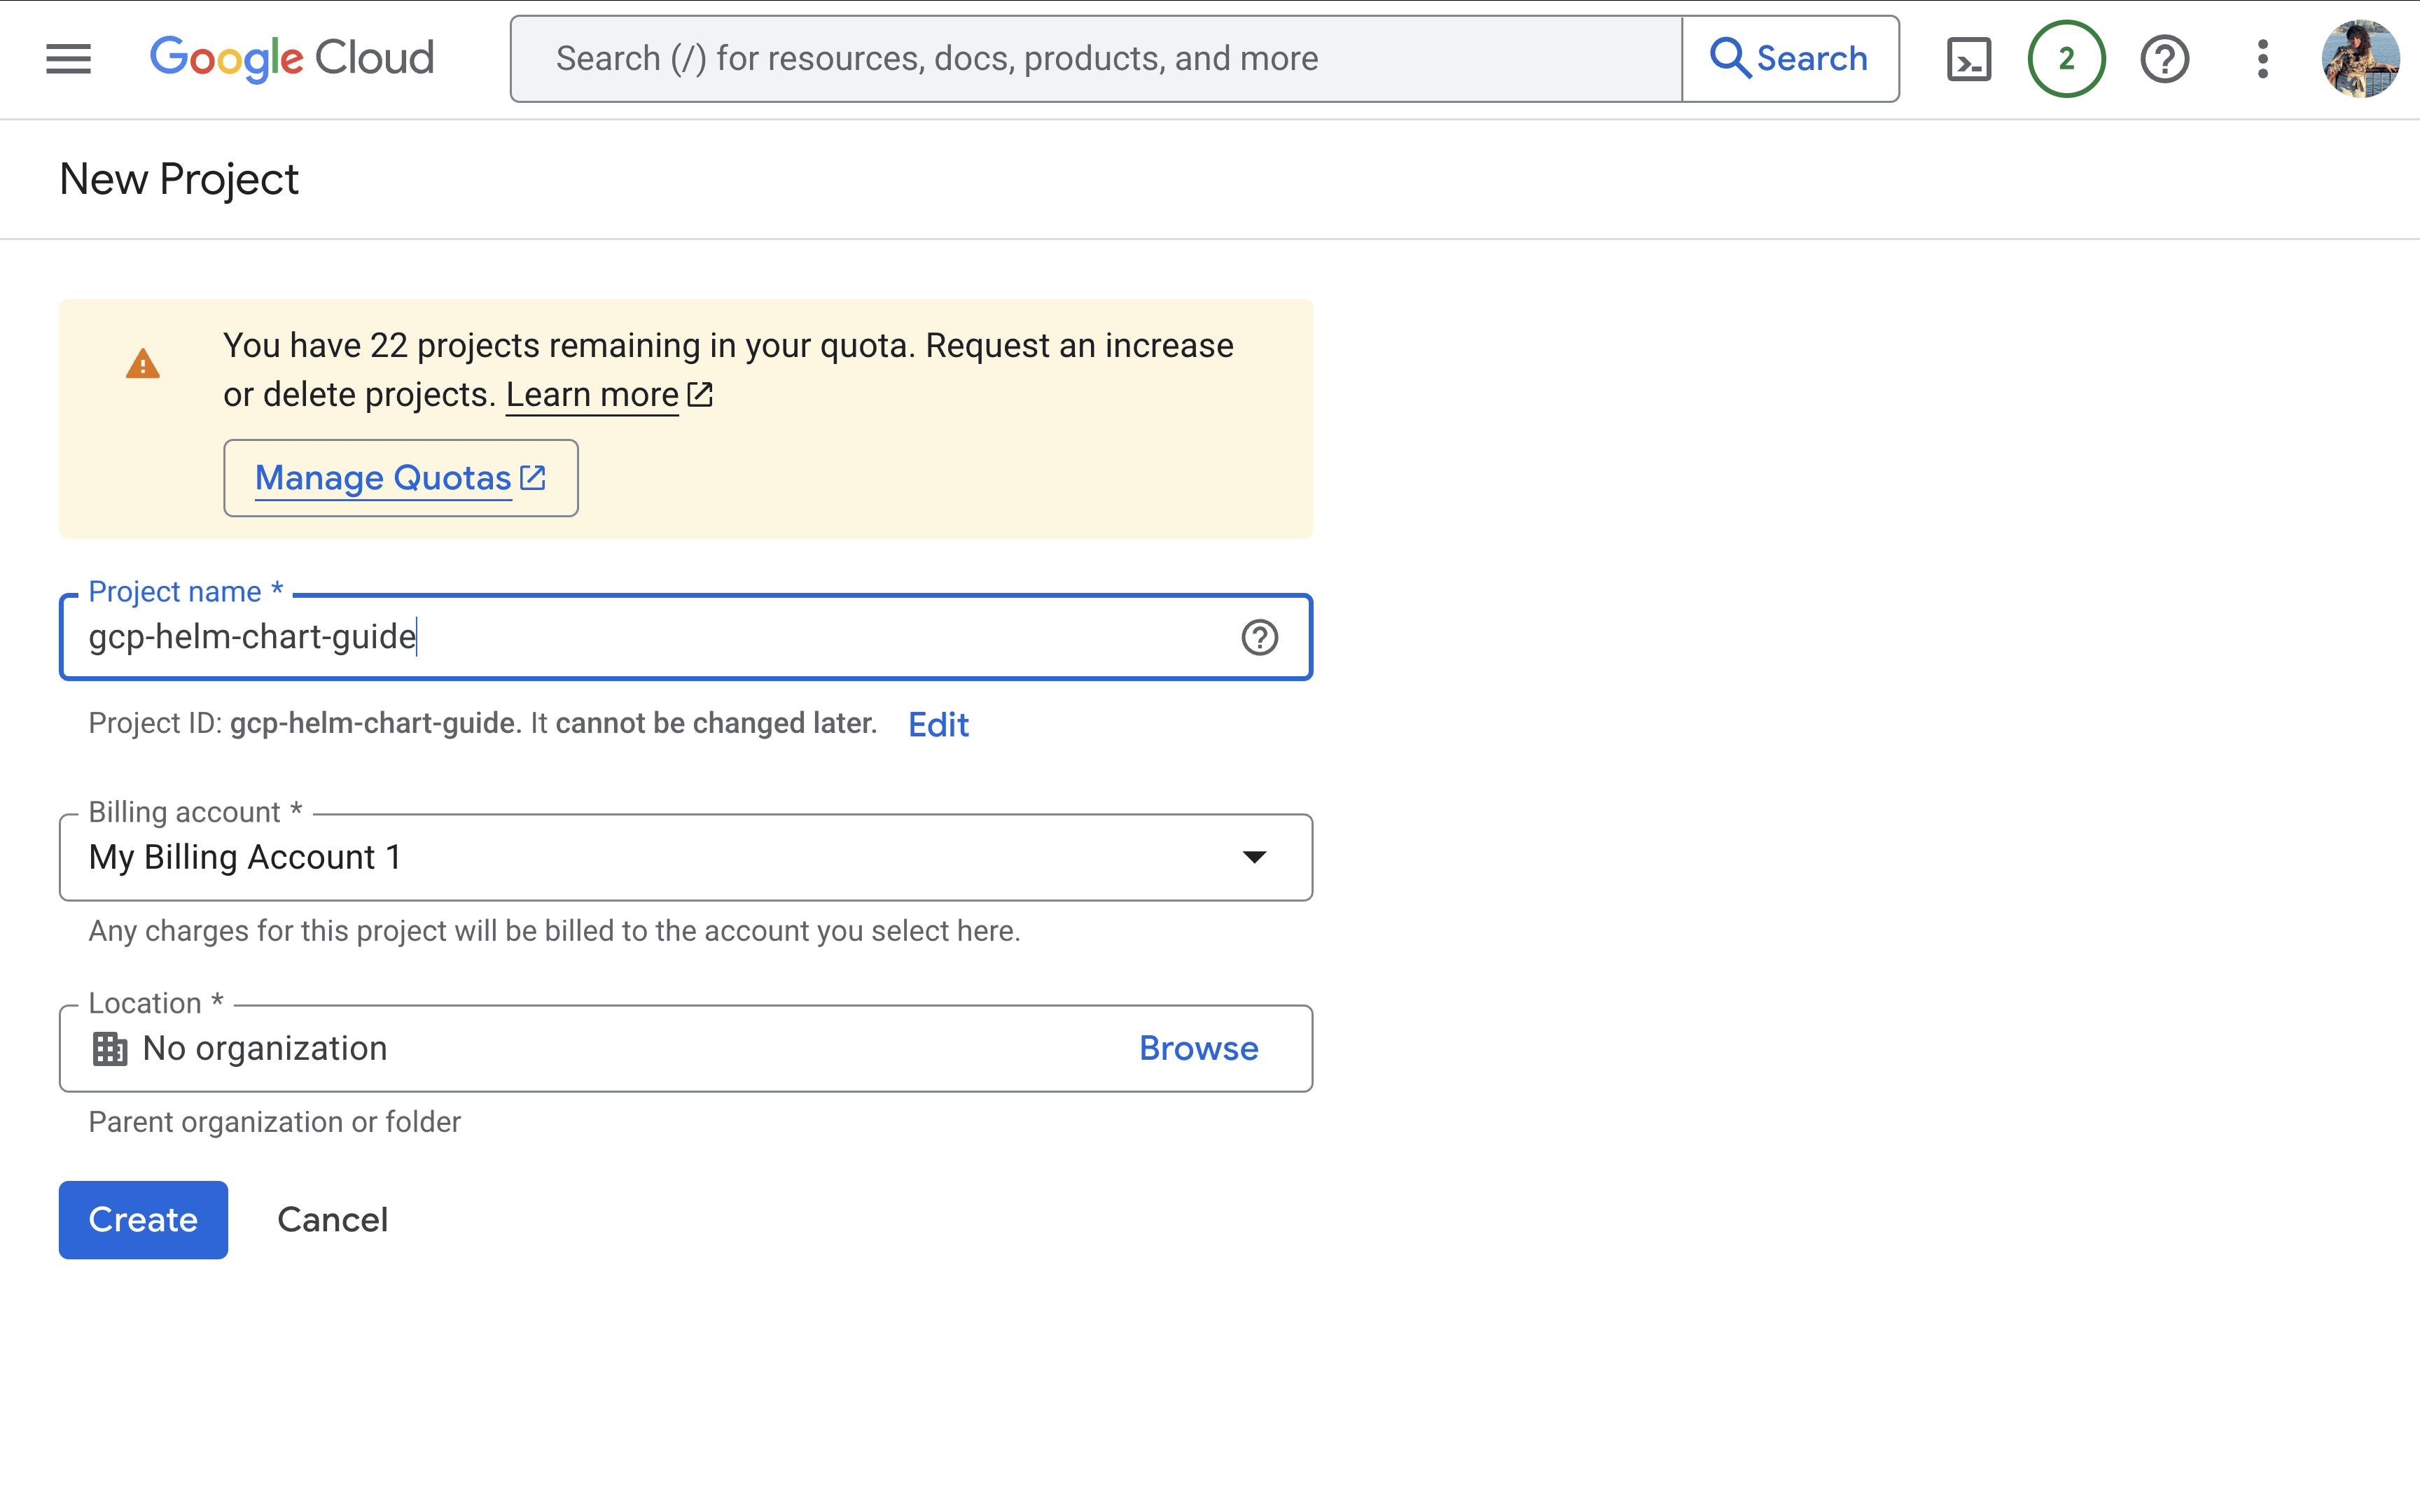
2. **Create a Project**:
* Open your project picker:
* Click **New Project:**
* Provide a project name, and click **Create:**
{% hint style="info" %}
If you are using an existing project, note the project ID for later use.
{% endhint %}
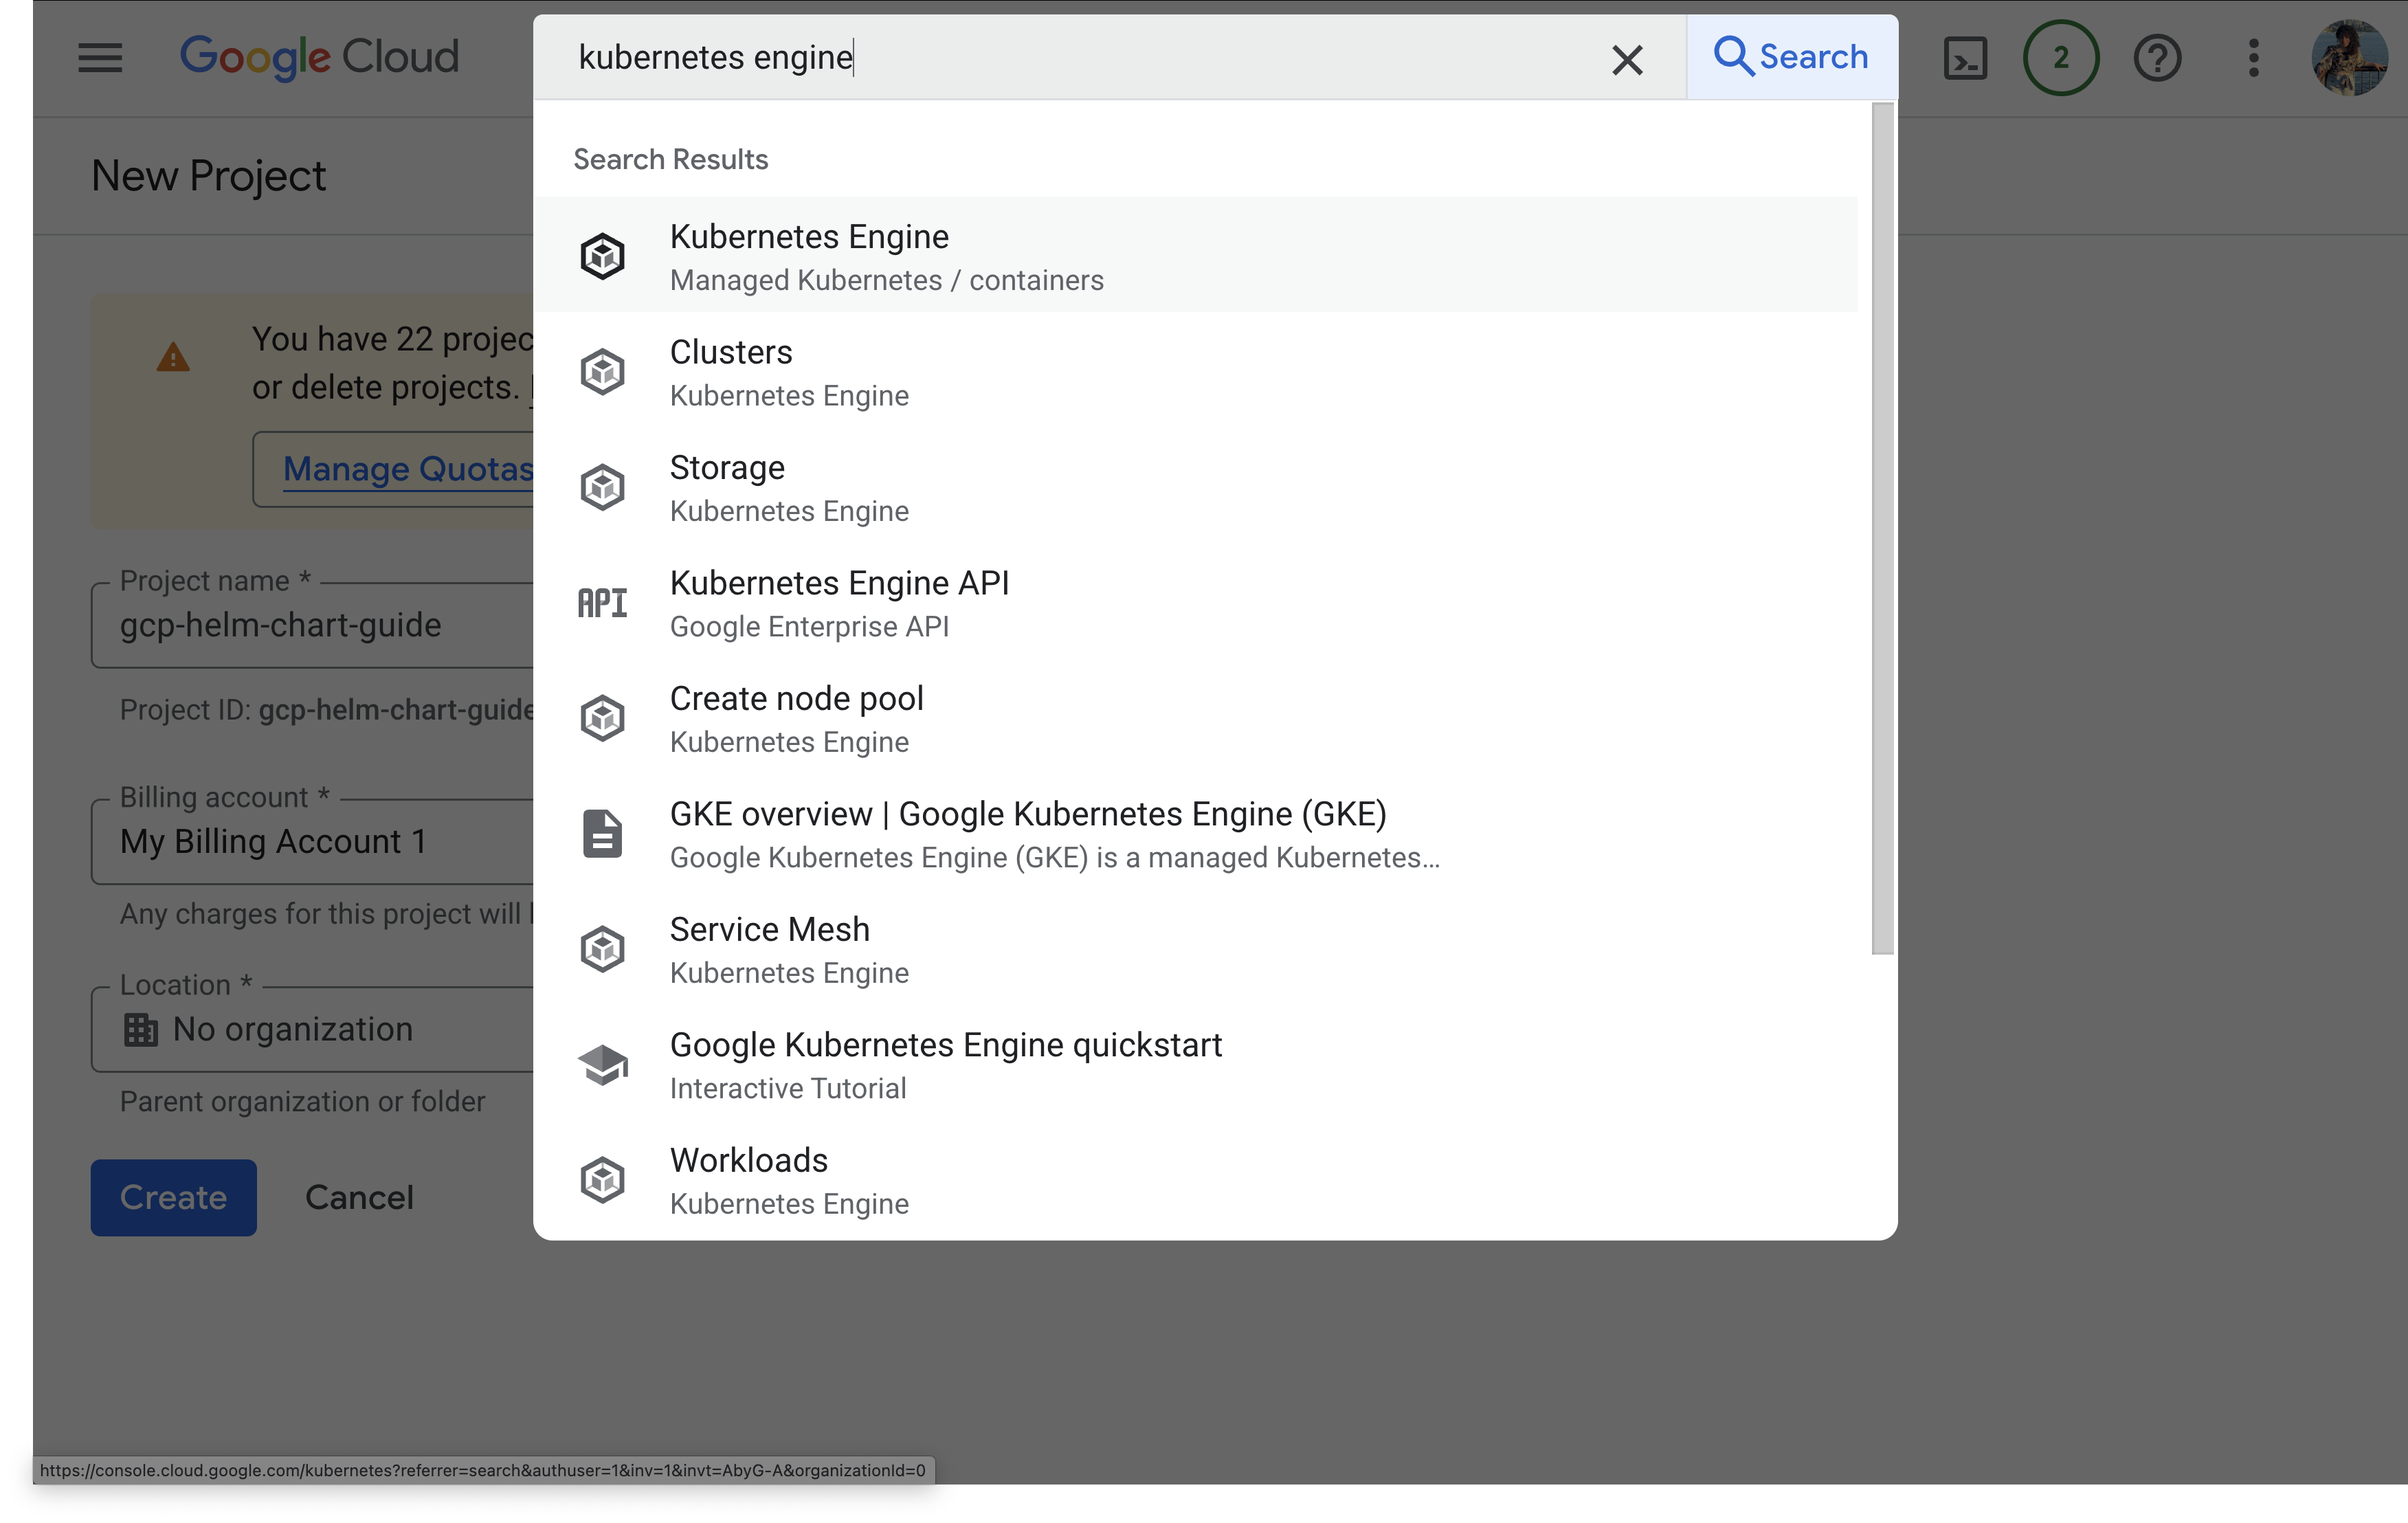
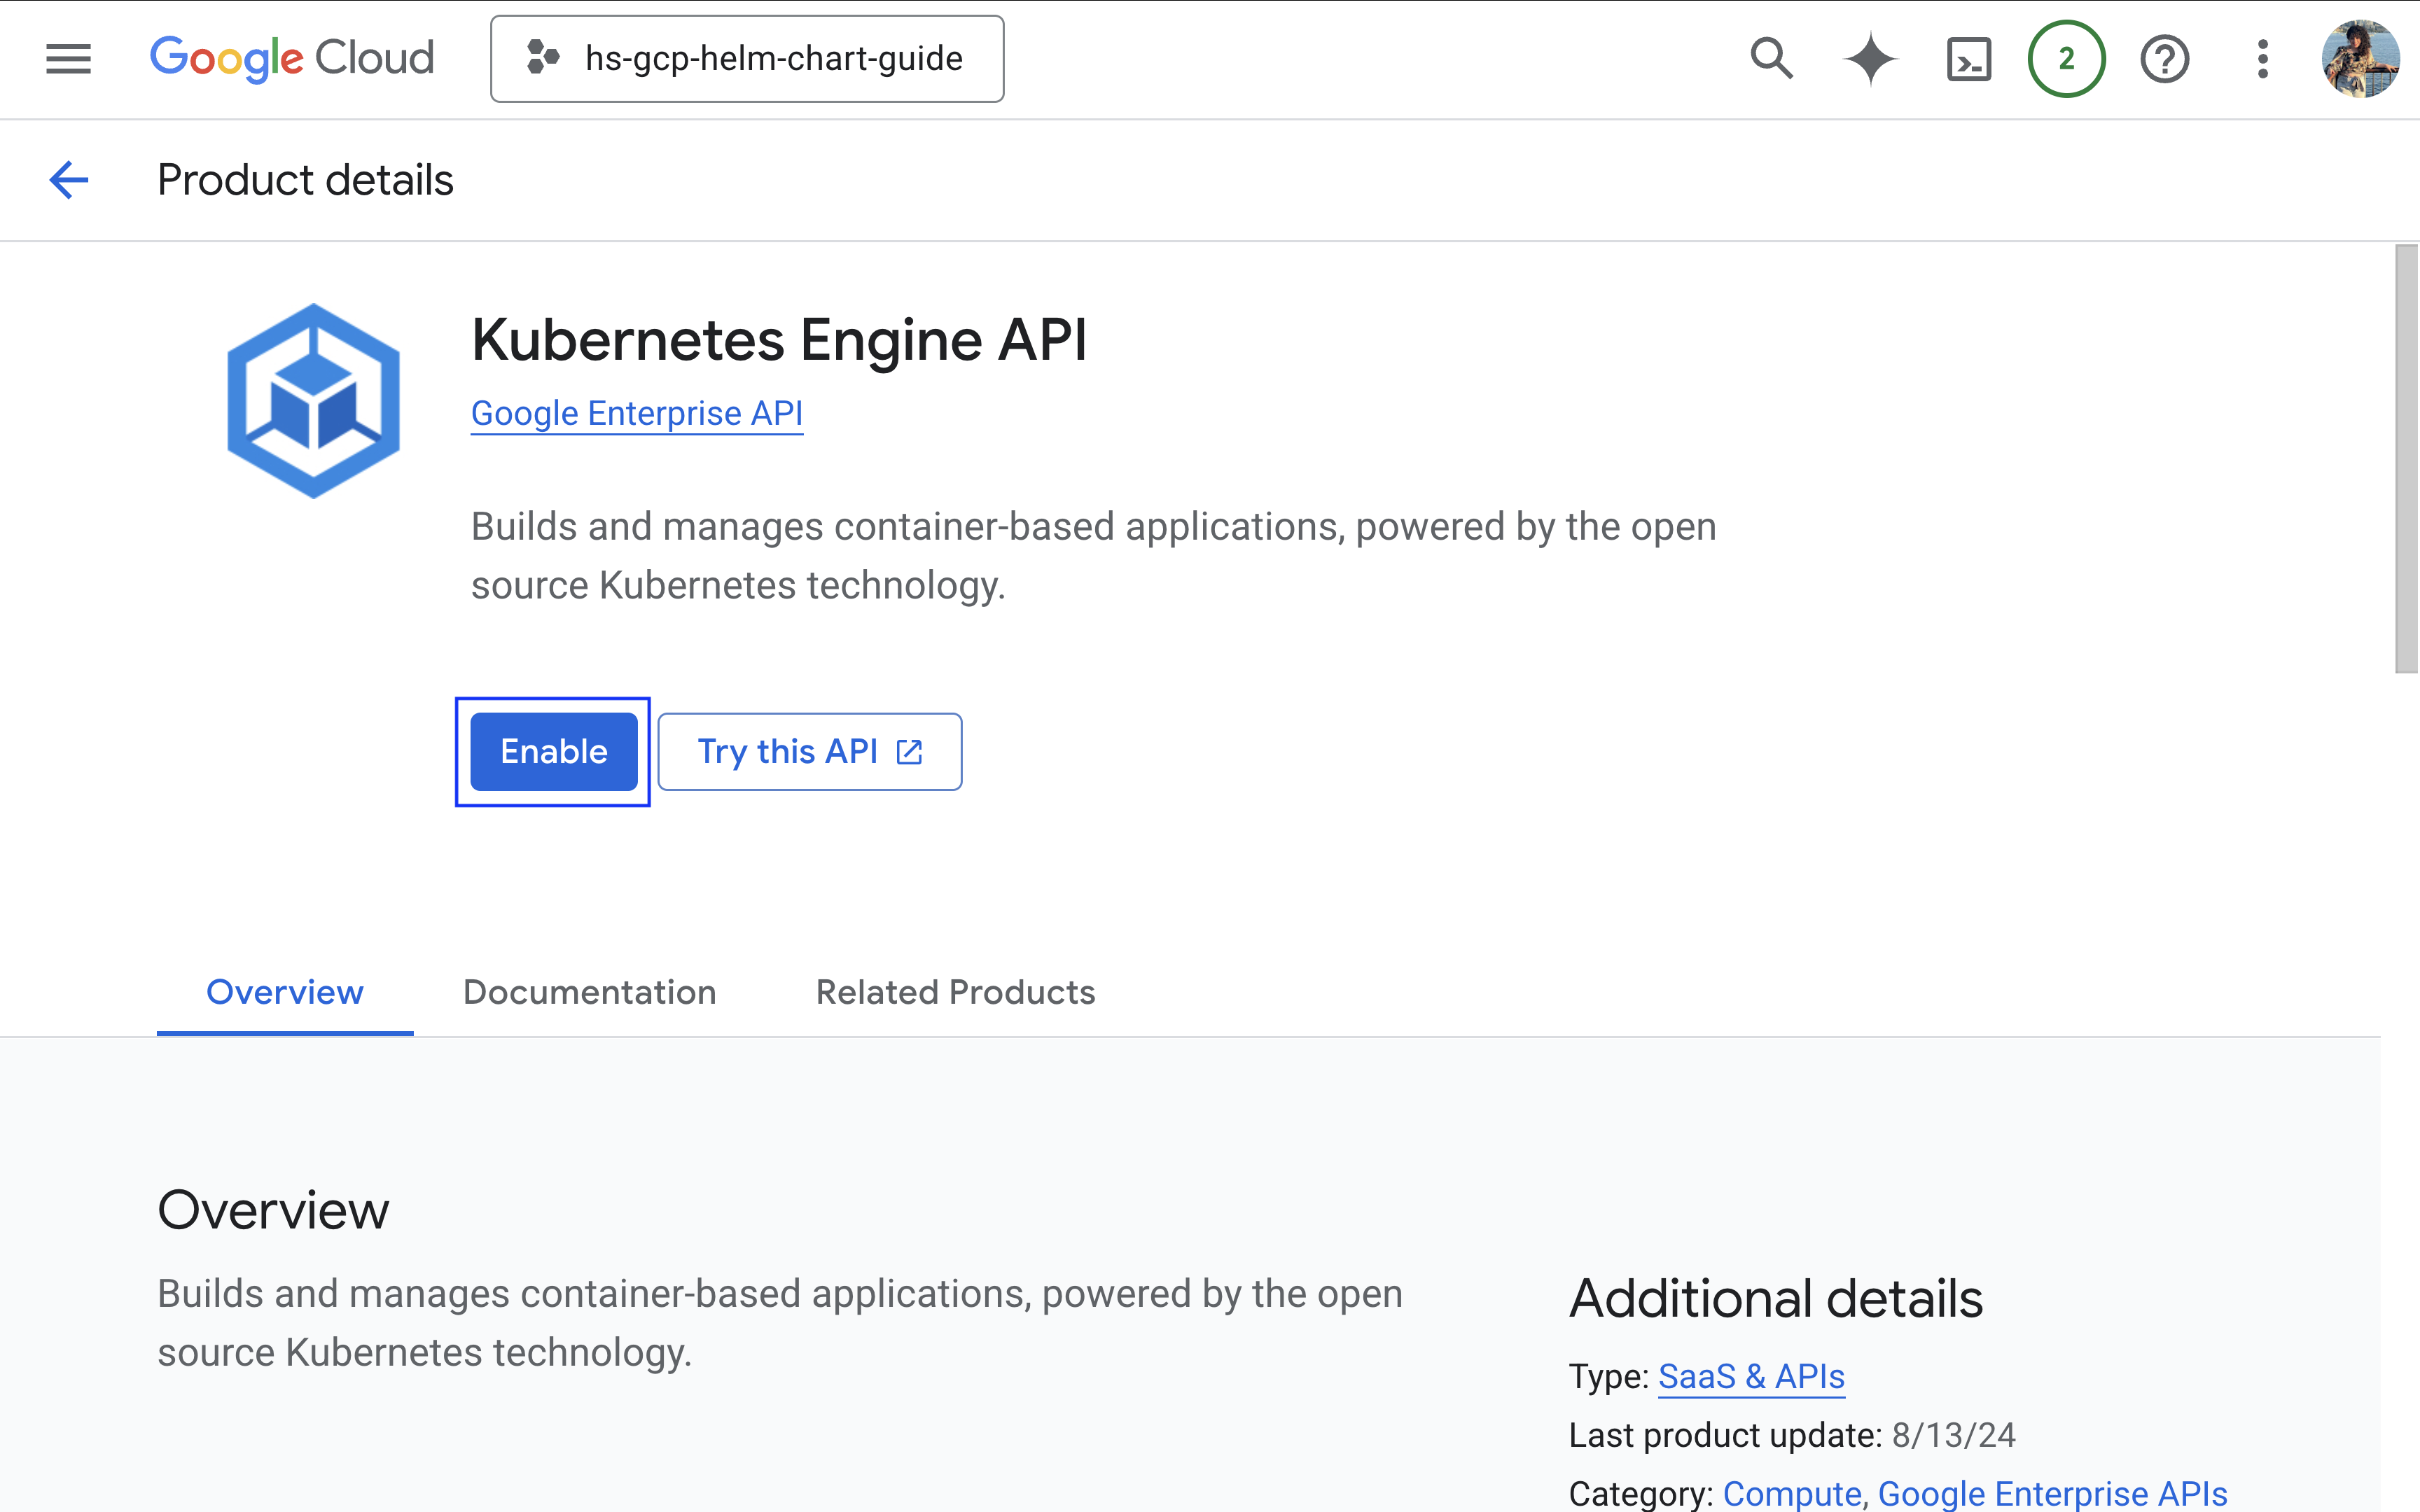
3. **Enable Kubernetes Engine API**:
* Navigate to **APIs & Services > Library** or search for it:
* Search for **Kubernetes Engine API** and click **Enable:**
{% hint style="info" %}
You'll need to provide billing information in order to proceed further. Follow the necessary steps and ensure the Kubernetes Engine API is enabled.
{% endhint %}
#### Step 2: Install Required Tools
1. **Google Cloud CLI (`gcloud`)**
The Google Cloud Command-Line Interface (CLI) is a cross-platform tool that allows you to manage GCP resources. To install `gcloud`, please refer to the official Google[ Cloud SDK installation guide](https://cloud.google.com/sdk/docs/install).
2. **kubectl**
`kubectl` is the command-line tool for interacting with Kubernetes clusters. To install `kubectl`, please refer to the [Kubernetes documentation](https://pwittrock.github.io/docs/tasks/tools/install-kubectl/).
{% hint style="info" %}
Ensure you only have 1 version of kubectl installed to avoid enviornmental conflict.
{% endhint %}
3. **Helm**
Helm is a package manager for Kubernetes applications. To install Helm, please refer to the [official Helm documentation](https://helm.sh/docs/intro/install/#through-package-managers).
#### Step 3: Create a Kubernetes Cluster
1. **Create the Cluster**:
* Run the following command to create a Kubernetes cluster:
```bash
gcloud container clusters create \
--zone \
--num-nodes \
--machine-type e2-standard-4
```
Replace:
* ``: A unique name for your cluster.
* ``: The GCP zone (e.g., `us-central1-a`).
* ``: Number of nodes in your cluster.
* `e2-standard-4`: Machine type with 4 CPUs and 16GB RAM per node.
Example:
```bash
gcloud container clusters create hypers-cluster \
--zone us-central1-a \
--num-nodes 1 \
--machine-type e2-standard-4
```
{% hint style="info" %}
Choose a **--zone** that's near you
{% endhint %}
2. **Verify the Cluster**:
* Fetch cluster credentials to allow `kubectl` to interact with it:
```bash
gcloud container clusters get-credentials --zone
```
* Confirm the nodes are ready:
```bash
kubectl get nodes
```
## Part 2: Deploy Hyperswitch on Kubernetes Using Helm
#### Step 1: Add and Update the Hyperswitch Helm Repository
1. Add the Hyperswitch Helm repository:
```
helm repo add hyperswitch https://juspay.github.io/hyperswitch-helm
```
2. Update Helm repository to fetch the latest charts:
helm repo update
#### Step 2: Prepare the Kubernetes Cluster
1. **Label Kubernetes Nodes**: Ensure nodes meet the minimum requirements: **4 CPUs and 6GB memory**.
* Label your nodes:
```bash
kubectl label nodes node-type=generic-compute
```
* List nodes to confirm labels:
```bash
kubectl get nodes --show-labels
```
2. **Create a Namespace**:
* Create a dedicated namespace for Hyperswitch:
```
kubectl create namespace hyperswitch
```
#### Step 3: Install Hyperswitch
1. Deploy Hyperswitch using Helm. Replace `` with your desired release name and `` with the namespace you created:
```bash
helm install hypers-v1 hyperswitch/hyperswitch-stack -n hyperswitch
```
2. Verify the Deployment:
* Check the status of all deployed pods:
kubectl get pods -n hyperswitch
* Ensure all pods are in the `Running` state.
{% hint style="success" %}
That's it! Hyperswitch should be up and running on your GCP account 🎉 🎉
{% endhint %}
### Expose Hyperswitch Services Locally
Use the following command for port-forwarding to access the services. Replace `` with your namespace:
```bash
kubectl port-forward service/hyperswitch-server 8080:80 -n hyperswitch > /dev/null 2>&1 & \
kubectl port-forward service/hyperswitch-control-center 9000:80 -n hyperswitch > /dev/null 2>&1 & \
kubectl port-forward service/hyperswitch-web 9050:9050 -n hyperswitch > /dev/null 2>&1 & \
kubectl port-forward service/hypers-v1-grafana 3000:80 -n hyperswitch > /dev/null 2>&1 & \
kubectl port-forward service/hypers-v1-vector 3103:3103 -n hyperswitch > /dev/null 2>&1 & \
kubectl port-forward service/mailhog 8025:8025 -n hyperswitch > /dev/null 2>&1 &
```
Access the services at:
* App server:
* Control center:
* Hyperswitch Web:
* Grafana:
* Vector:
* Mailhog:
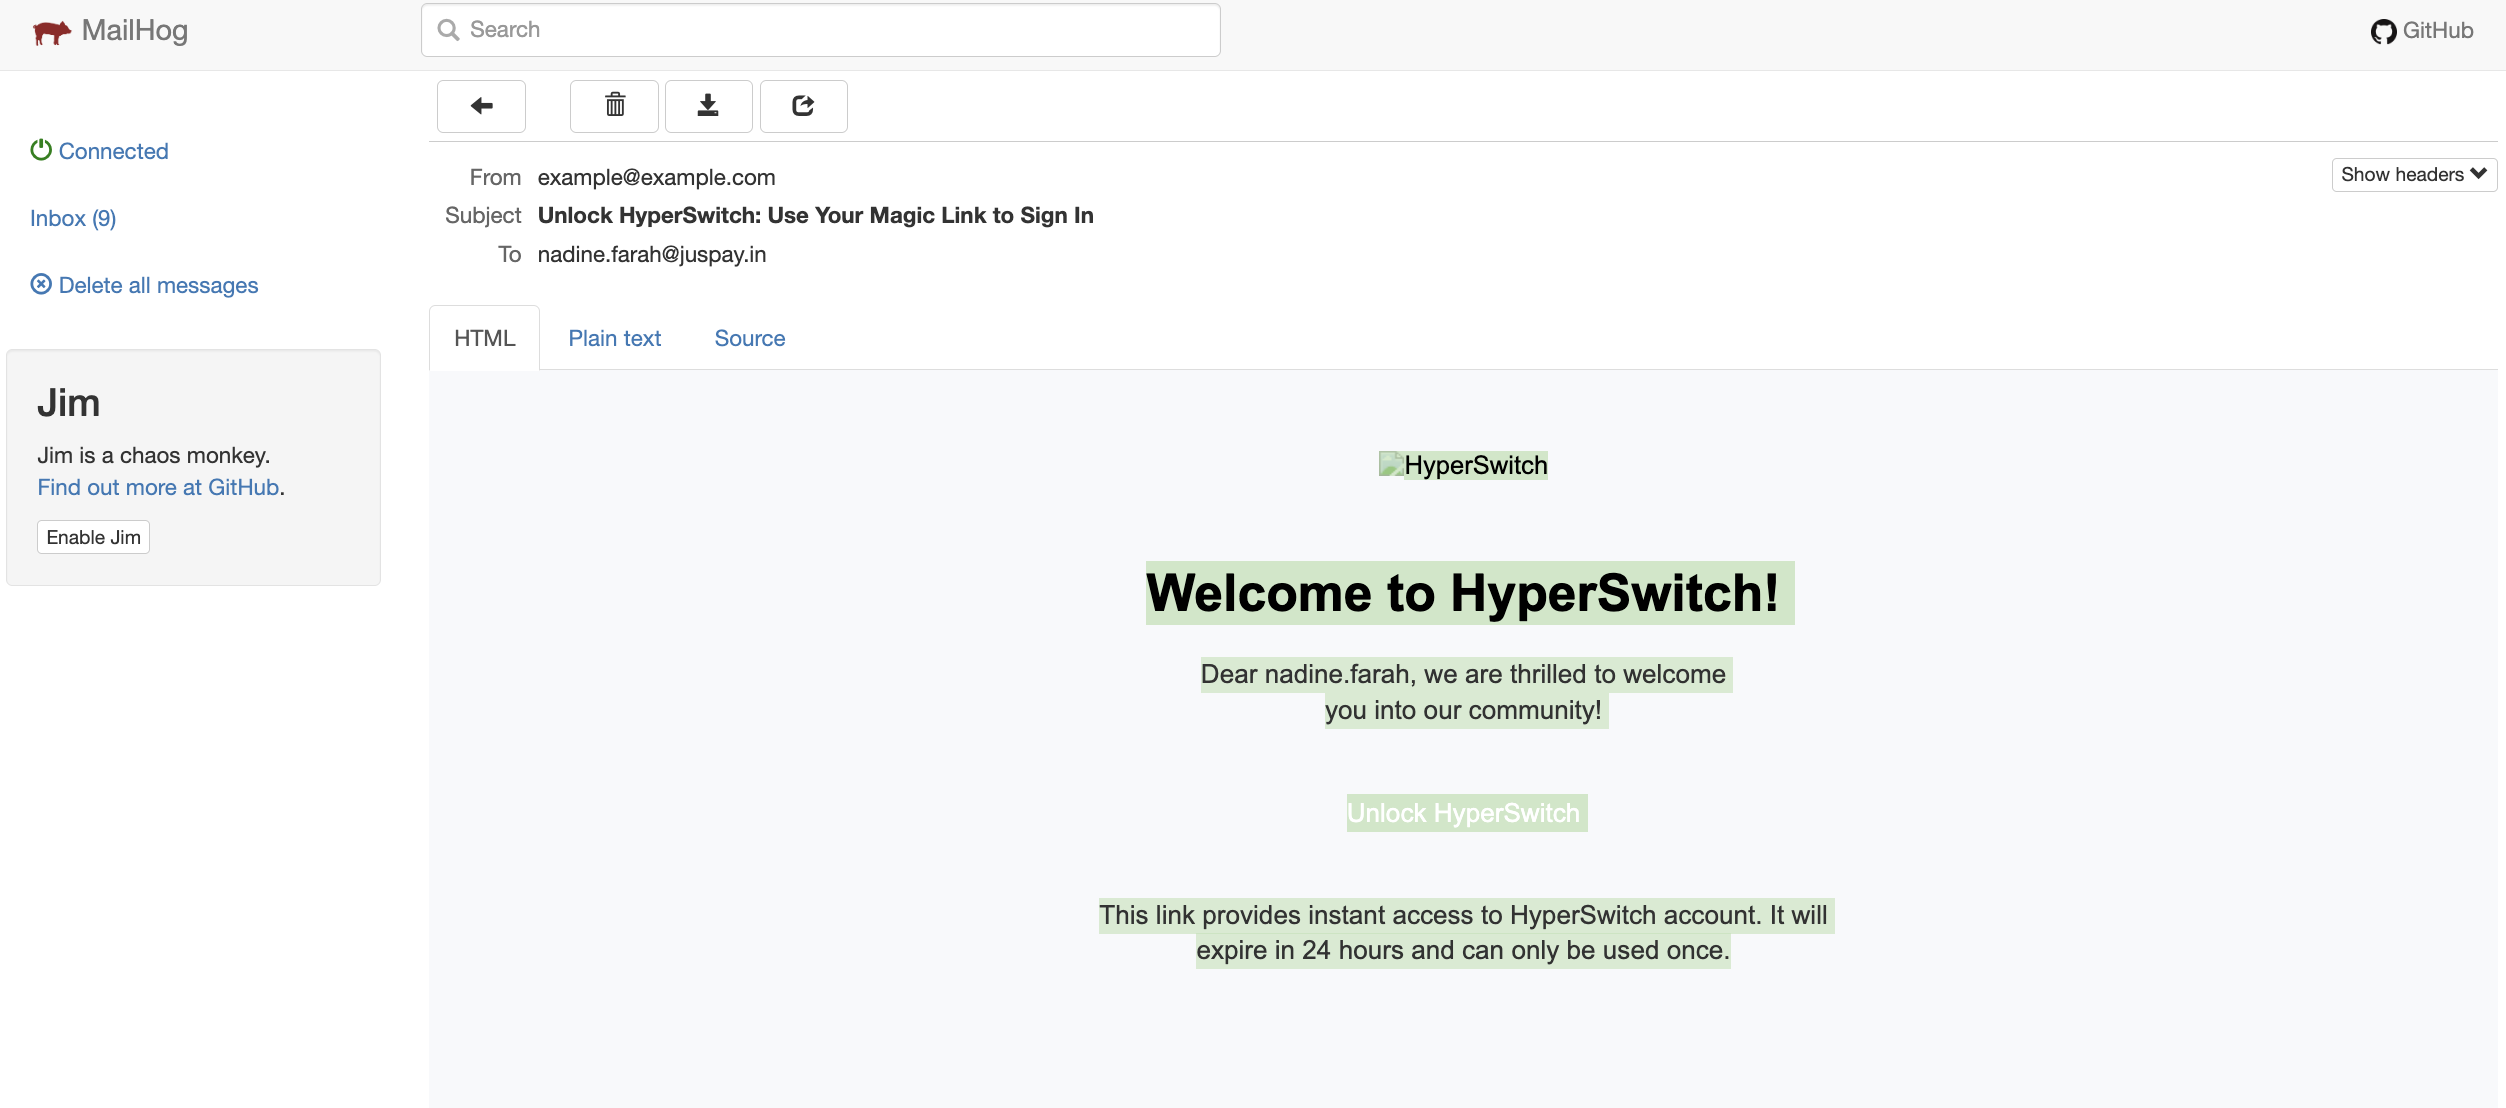
The quickest way to explore Hyperswitch is via the [Control Center](http://localhost:9000/). You can create an account or sign in with your email:
A magic link will be sent to [Mailhog](http://localhost:8025/). Click on the link in white:
Afterwards, you’ll be taken straight to the Control Center. If you're just taking things for a spin, feel free to skip authentication and start exploring right away.
### Test a payment
Use can now use the Hyperswitch Control Center and [make a payment with dummy card](https://opensource.hyperswitch.io/hyperswitch-open-source/test-a-payment).
Refer our [postman collection](https://www.postman.com/hyperswitch/workspace/hyperswitch/folder/25176183-0103918c-6611-459b-9faf-354dee8e4437) to try out REST APIs.
### **Troubleshooting**
* **View Pod Logs:** To check logs for a specific pod in Google Kubernetes Engine (GKE):
kubectl logs <pod-name> -n hyperswitch
* **View Events:** To list events in the namespace sorted by creation time:
kubectl get events -n hyperswitch --sort-by='.metadata.creationTimestamp'
* **Deploy Hyperswitch Helm Chart on GKE:** If deploying for the first time or reinstalling, run:
### **Customization & Configuration**
To customize Hyperswitch, clone the Helm chart repository and modify `values.yaml`:
```sh
git clone https://github.com/juspay/hyperswitch-helm.git
```
Update the `values.yaml` file inside `hyperswitch-stack/` and apply changes with:
```sh
helm upgrade --install hypers-v1 hyperswitch/hyperswitch-stack -n hyperswitch
```
### **Uninstall Hyperswitch & Delete GKE Cluster**
* To uninstall Hyperswitch:
```sh
helm uninstall hypers-v1 -n hyperswitch
```
* To delete the GKE cluster completely:
```sh
gcloud container clusters delete --region --project --quiet
```
### Explore Further
Once you are done with the test payment, you can explore more about these: