# Widgets
### Requirements
* Android 6.0 (API level 23) and above
* [Android Gradle Plugin](https://developer.android.com/studio/releases/gradle-plugin) 8.5+
* [Gradle](https://gradle.org/releases/) 8.8+
* [AndroidX](https://developer.android.com/jetpack/androidx/)
### 1. Setup the server
```js
$ npm install @juspay-tech/hyperswitch-node
```
Follow the [Server Setup](https://docs.hyperswitch.io/integration-guide/payment-experience/payment/server-setup) section.
### 2. Build checkout page on your app
#### 2.1 Add the Buildscript Classpath
To start integrating the Juspay Hyperswitch SDK, add the following classpath to the `buildscript` block of your project-level `build.gradle` file:
buildscript {
    repositories {
        mavenCentral()
    }
    dependencies {
        classpath "io.hyperswitch:hyperswitch-gradle-plugin:$latest_version"
    }
}
#### 2.2 Apply the Plugin
Add the following plugin to the `plugins` block of your app-level `build.gradle` file:
```gradle
plugins {
// Apply Hyperswitch Plugin
id 'io.hyperswitch.plugin'
}
```
#### 2.3 Implement the HyperInterface
Next, implement the `HyperInterface` in your Activity. This involves extending `FragmentActivity` and implementing the `HyperInterface`:
```kotlin
class WidgetActivity : AppCompatActivity(), HyperInterface {
// ...
}
```
#### 2.4 Initialize Payment Configuration
Set up the SDK using your publishable key:
```kotlin
private fun initialiseSDK() {
// Initialize Payment Configuration
PaymentConfiguration.init(applicationContext, publishKey)
}
```
### 3. Implementation
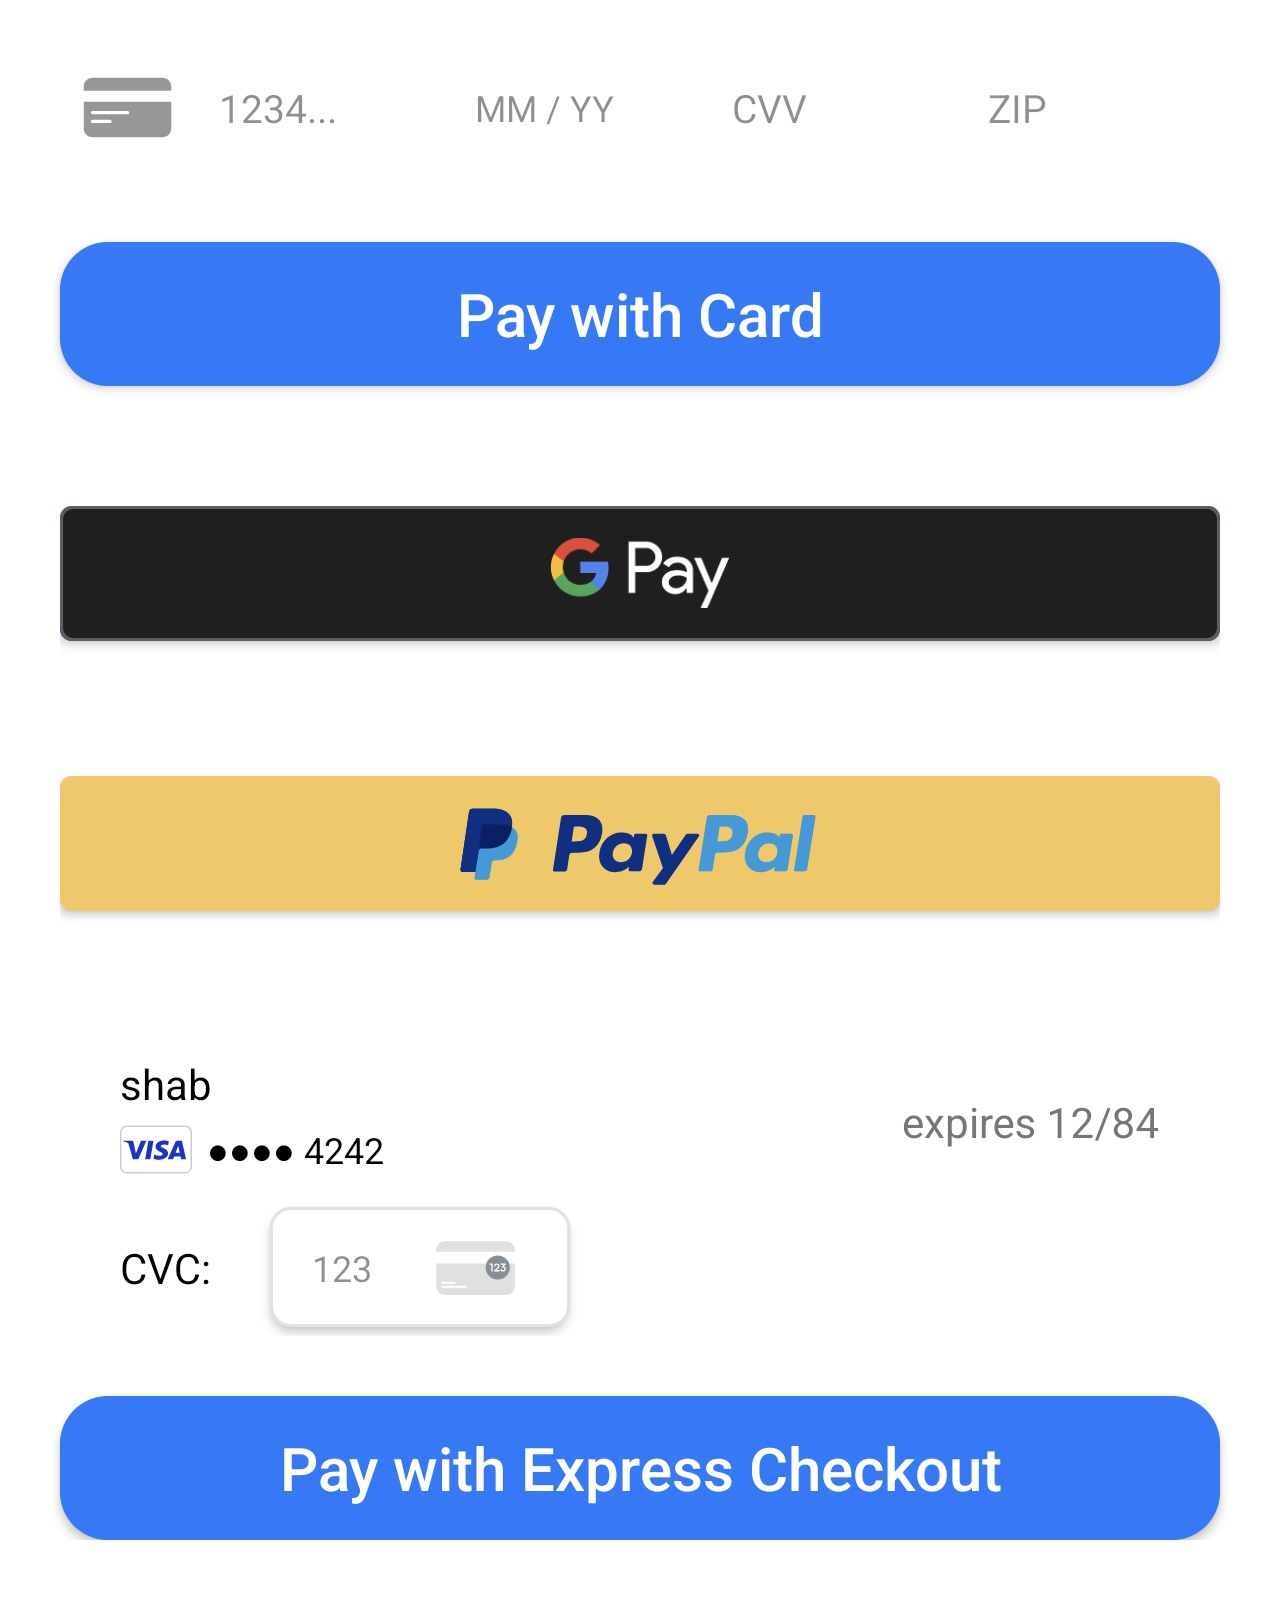
Choose from list of available widgets to integrate:
1. [Card Element](https://docs.hyperswitch.io/integration-guide/payment-experience/payment/mobile/android/widgets/card-element)
2. [Google Pay](https://docs.hyperswitch.io/integration-guide/payment-experience/payment/mobile/android/widgets/google-pay)
3. [PayPal](https://docs.hyperswitch.io/integration-guide/payment-experience/payment/mobile/android/widgets/paypal)
4. [Express Checkout](https://docs.hyperswitch.io/integration-guide/payment-experience/payment/mobile/android/widgets/express-checkout)
#### Final Step
Congratulations! You have successfully integrated Juspay Hyperswitch widgets into your app. This approach gives you granular control over each payment method and allows for custom UI/UX design while leveraging Juspay Hyperswitch's payment processing capabilities.
### Next step:
{% content-ref url="../../../../../other-features/payment-orchestration/quickstart/payment-methods-setup" %}
[payment-methods-setup](https://docs.hyperswitch.io/other-features/payment-orchestration/quickstart/payment-methods-setup)
{% endcontent-ref %}
[^1]: [Get Latest Version](https://central.sonatype.com/artifact/io.hyperswitch/hyperswitch-gradle-plugin/versions)
---
# Agent Instructions: Querying This Documentation
If you need additional information that is not directly available in this page, you can query the documentation dynamically by asking a question.
Perform an HTTP GET request on the current page URL with the `ask` query parameter:
```
GET https://docs.hyperswitch.io/integration-guide/payment-experience/payment/mobile/android/widgets.md?ask=
```
The question should be specific, self-contained, and written in natural language.
The response will contain a direct answer to the question and relevant excerpts and sources from the documentation.
Use this mechanism when the answer is not explicitly present in the current page, you need clarification or additional context, or you want to retrieve related documentation sections.